Best Nail Prep for Builder Gel Application

Each builder gel has a level of hardness and color opacity. Typically, the more pigmented a builder gel is, the less hard it is. However, this principle is completely different for soak-off bottle builders. You can read more about soak-off bottle builders here.
Gellifique Builder Gels
An ideal product for natural nail overlays is a gel that is not too hard and has great coverage.
- Smart Base Builder is a less rigid product in the soak off category. So it is great for customers with strong, healthy nails in any shapes, for customers with various diagnosed allergies (always check the ingredient list prior to product use) and on damaged nails in rounded shapes such as oval.
- Apex Build is a more rigid builder product in the soak off category. Gives strength and resilience to damaged and healthy nails in any shapes including square. On strong and healthy nails we would use Apex Build if we wanted more coverage or the customer has issues with product retention.
- The Light Structure series is great for natural nail overlays in shapes like almond and oval.
- Pro Care Builder Gel is great for nail extensions and natural nail overlays in shapes that require a very hard structure, such as square nails.
- Speed Sculpt is an ideal gel for nail repairs, arch corrections, top forms, and much more.
- Acrylic Gel is a fusion product of UV gel and acrylic powder. Ideal for nail repairs and arch corrections.
How to Nail Prep Before Builder Gel Application
The nail plate consists of various layers, and the upper layers of the nail plate are responsible for the product's best adhesion and wear. When a client picks at their gel coating or a nail technician overfiles the nail plate, causing that layer to be lost, the customer will begin to experience a lot of product lifting.
As nail technicians, our goal is to prepare the natural nail plate correctly to avoid damage and provide appropriate aftercare advice to the client.

Step #1
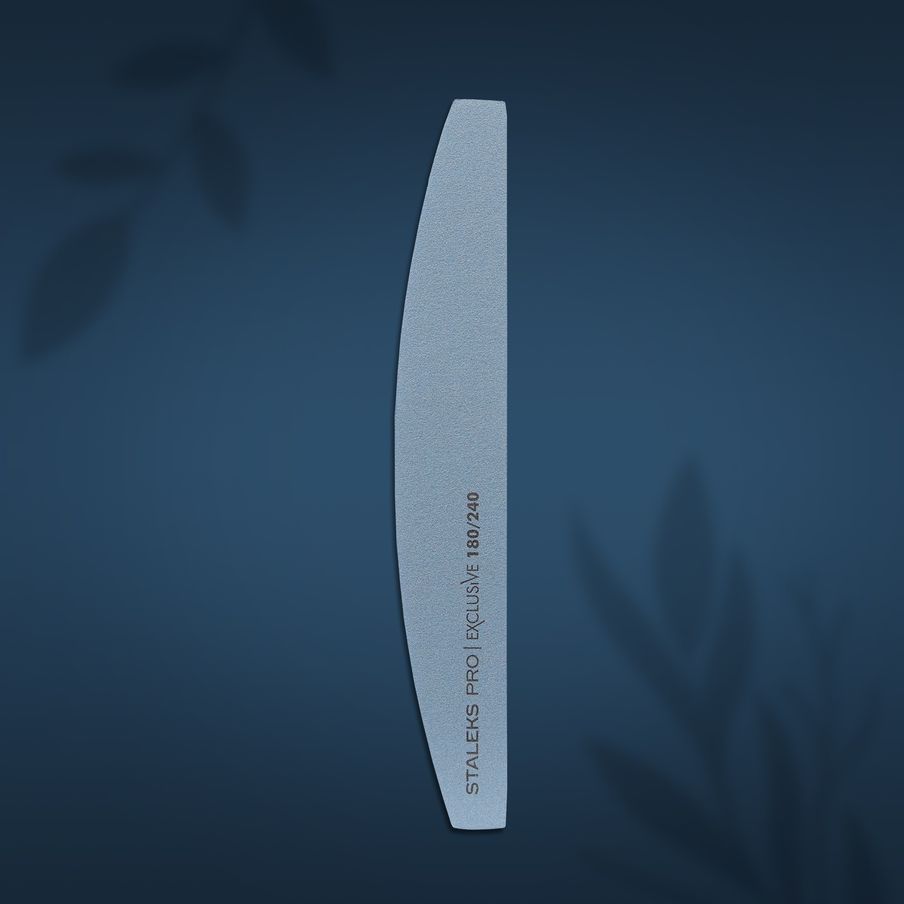
- To properly prepare the natural nail plate, use a 180 grit nail file and file in one direction from left to right, avoiding back and forth motions. The goal is to increase the adhesive surface by gently "raising" the hard keratin cells in the first layer of the nail plate. Filing back and forth can initially raise these cells but may inadvertently smooth them back down, reducing the effectiveness of adhesion.
MINERAL CRESCENT NAIL FILE - EXCLUSIVE - 180/240 - £1.99
BUY NOW |

|
Step #2
- Cleanse the nail plate with Nail Surface Cleanser. Take either a microbrush or wrap a lint-free pad onto an orange wood stick, spray it with solution, and cleanse around the cuticle area and sidewalls to ensure the removal of all dust particles and oils that can interfere with adhesion.

|
NAIL SURFACE CLEANSER & TACK REMOVER - £9.99
BUY NOW |
Step #3
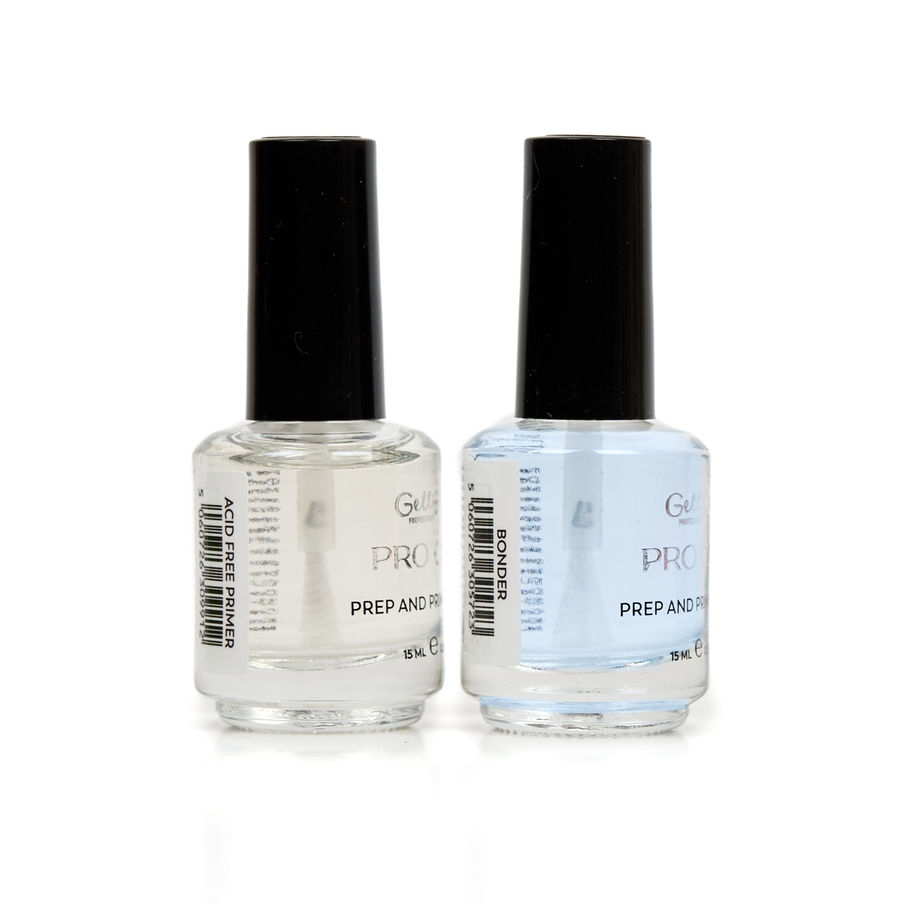
- Apply Bonder/Dehydrator to oily nail plates, nail plates with hyperhidrosis or if you are skipping the primer.
- Apply acid-free primer to the middle and towards the free edge, keeping it well away from the sidewalls and cuticle area. During an infill, apply it only to areas without any leftover product.
PREP AND PRIME SYSTEM - £17.98
BUY NOW |

|
Step #4
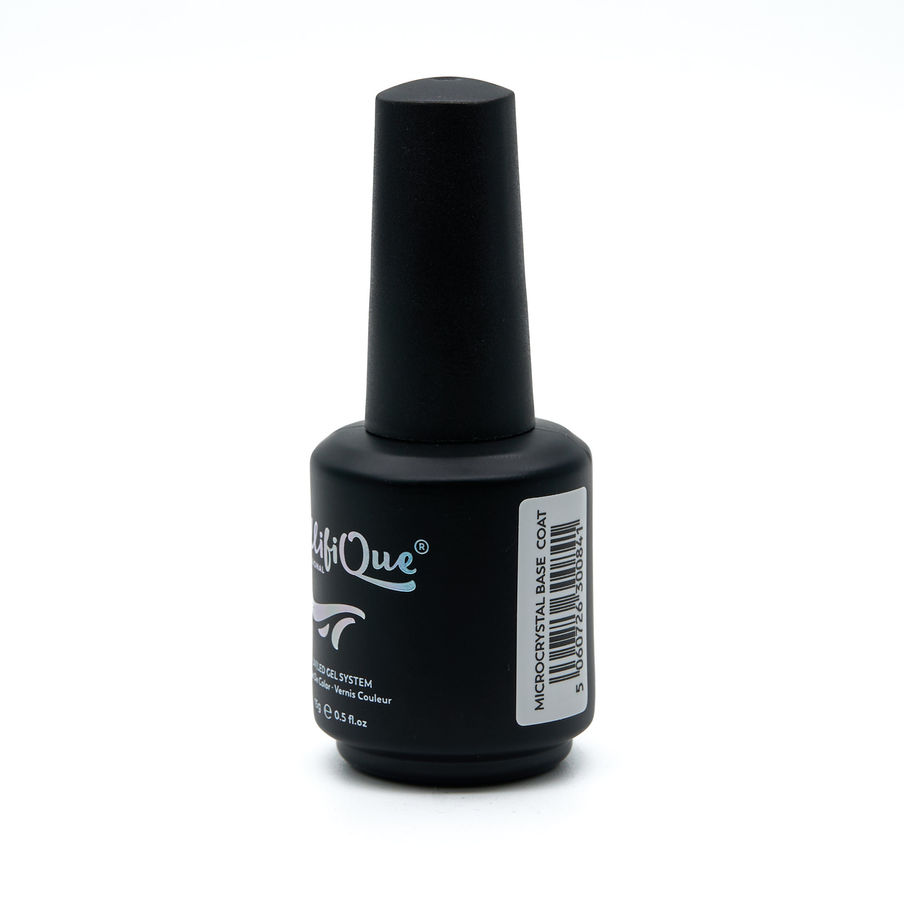
- Base coats are an optional step with soak-off builders, but as you know, it is a recommended step by Gellifique to protect the natural nail plate from pigments. With hard builder gel, the base coat is always used. To create a scrub layer, which often helps create a tight adhesive bond, decant a small amount of microcrystal base coat onto a palette. Using a gel brush with slightly thicker bristles compared to a bottle brush, create a scrub layer. Then cure for 30 seconds with LED.

|
MICROCRYSTAL BASE COAT PLUS - £11.99
BUY NOW |
Step #5
- You are now ready to go in with your builder gel of choice. Keep in mind that while soak off builder gels can be applied at the cuticle area , hard builder gels need to have a gradual transition or a tiny 1mm gap between cuticle area and hard gel product to avoid lifting in that area. Basically your base coat will be applied slightly higher than your hard gel product.